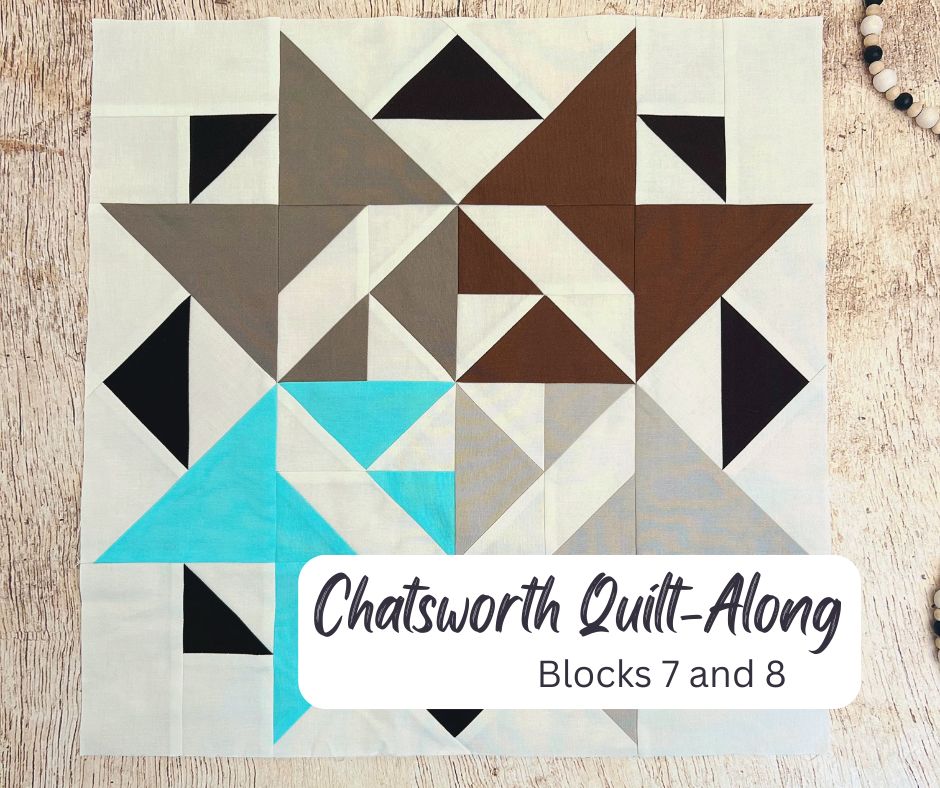
Welcome to Month 4 of the Chatsworth quilt-along! Today's blog post features Doug's tips for constructing blocks 7 and 8, as well as links to helpful step-by-step videos! Grab your Chatsworth book and get ready to sew along!
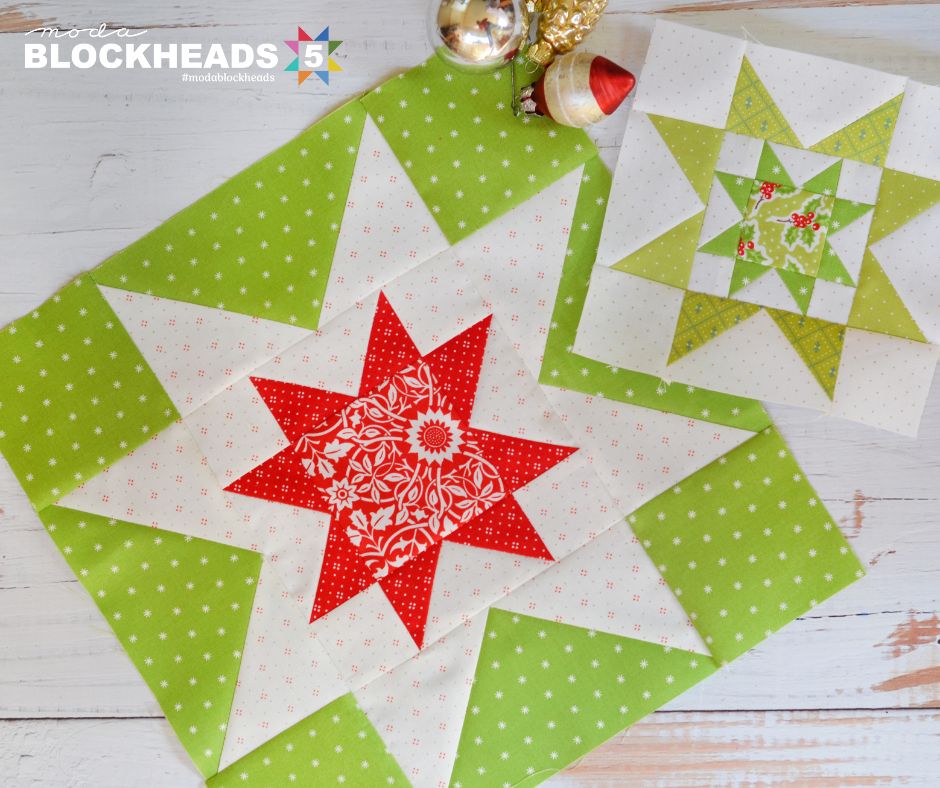
This week’s Blockheads guest designer is Vanessa Christenson of V & Co., and her block is sure to sparkle in your Blockheads project! Download the Life of the Party pattern and let’s sew!
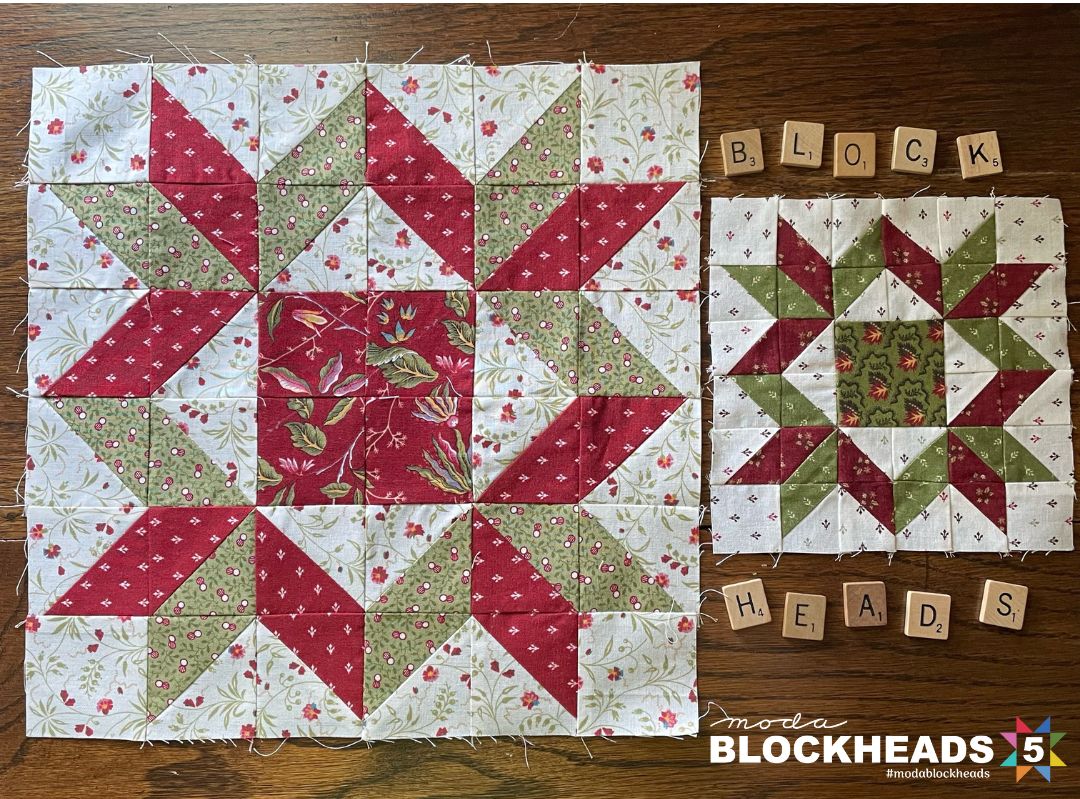
It only seems fitting that Block 1 of Blockheads 5 is designed by an Original Blockhead, Betsy Chutchian! You won’t want to miss her beautiful Bright Star block pattern.
It’s Week 16 of Blockheads 5, Group 2, and our featured designer – Joanna Figueroa – has given us a star block that is double the fun! Download the Double Star pattern now and let’s get sewing!
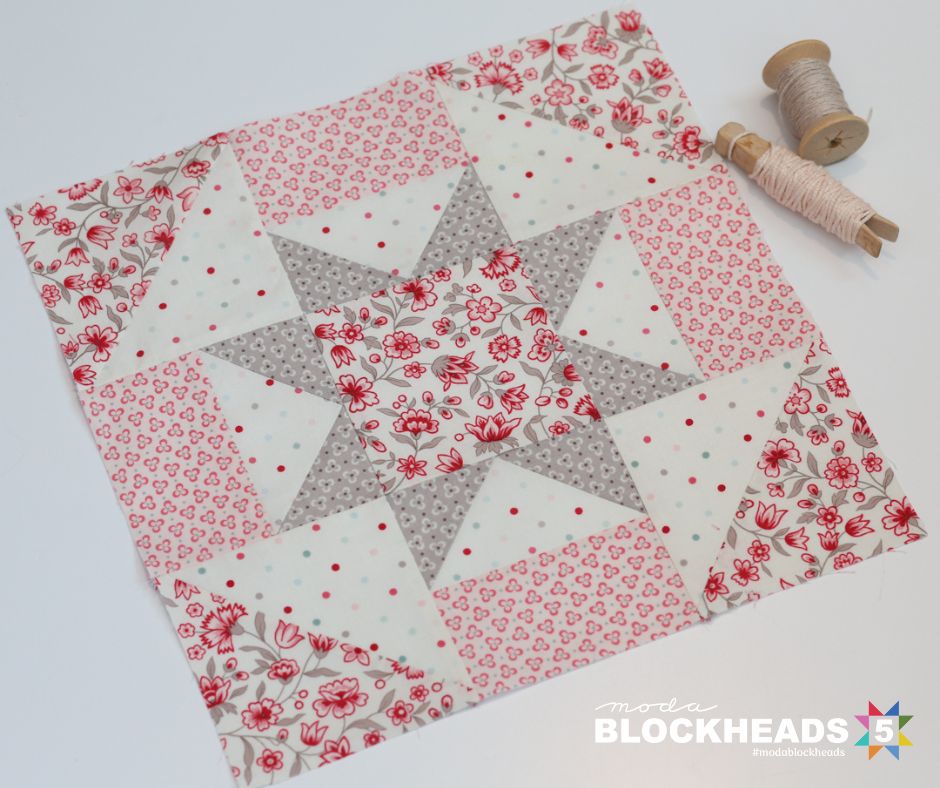
Welcome to the halfway point of Blockheads 5, Group 2! Our featured designer this week is Anne Sutton of Bunny Hill Designs, and her sweet Keepsake block will be a lovely addition to your Blockheads project. Download the Keepsake block pattern now and let’s get sewing!